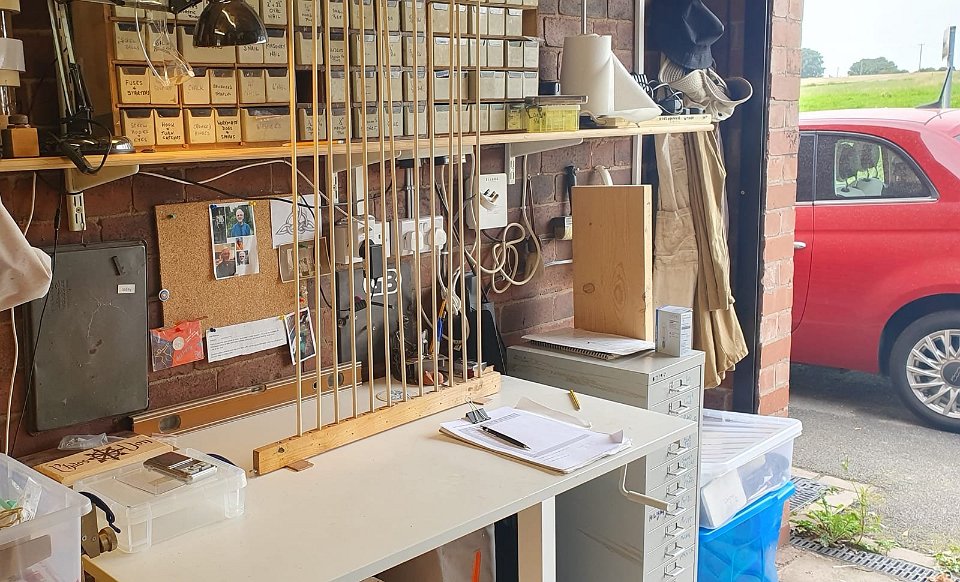
 1 So here we go, first arrow set in the new workshop! They shall be the Marbury Pendragons. German Spruce spined for 25-30lb to match my 2 indoor longbows. |
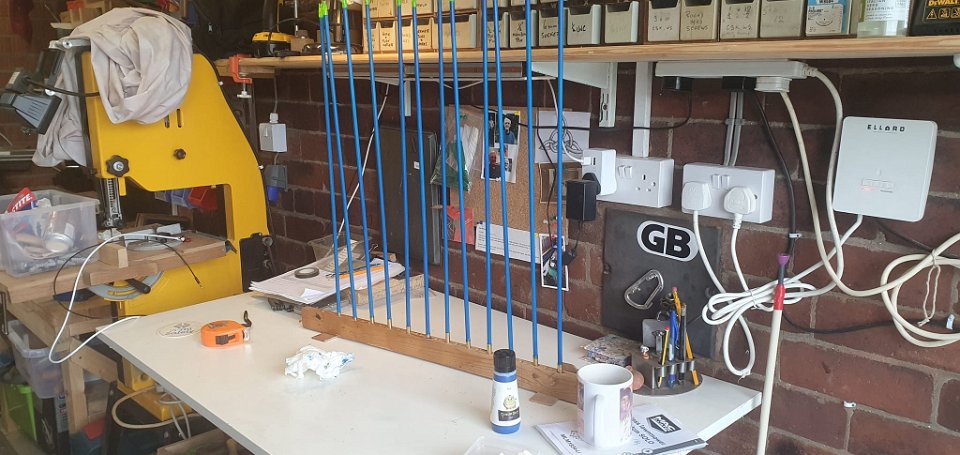
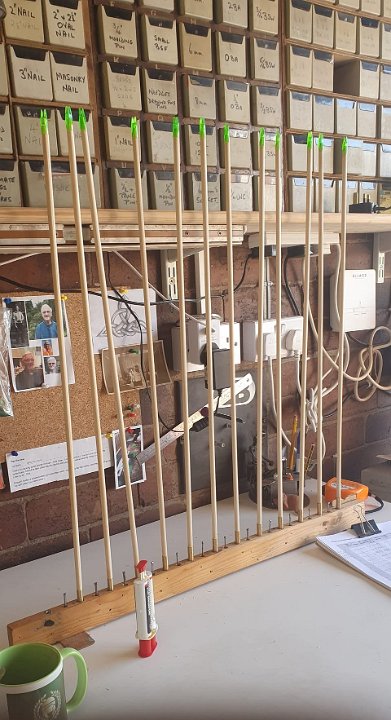 2 Nocks and piles are on. Pause for glue to dry! The piles are 100 grain brass Top Hat screw-on. You thread the shaft with a die instead of tapering them with the big pencil-sharpener like you do the nock ends. Arrow #1 unfortunately is a scrub because I forgot and tapered it as well as for some reason cutting it too short. Bugger. The piles are weighed and matched light-to-heavy with the shafts to get the nearest to consistent weights. That's what the nails are for. |
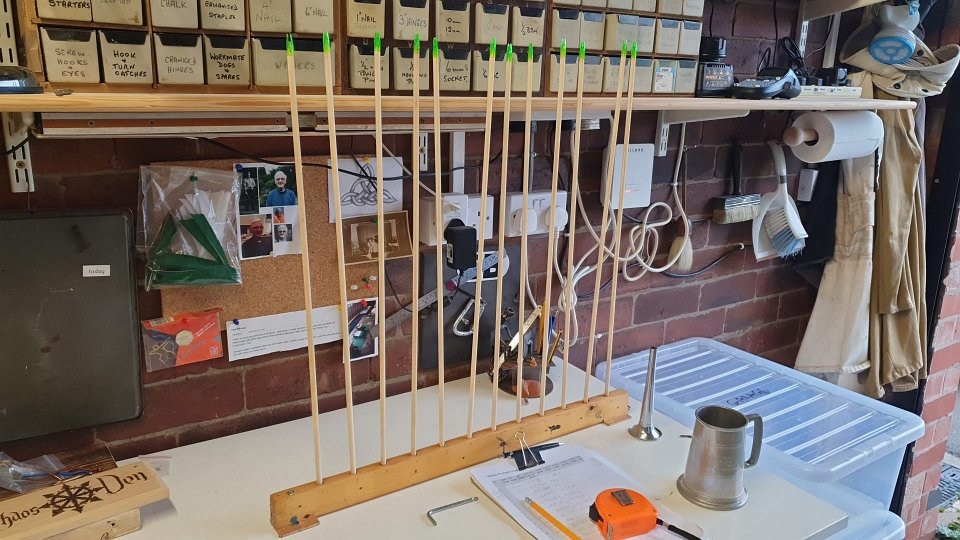 3 And the glue is still not dry! Knew there was a reason I usually do this in the winter. Back to the beer. |
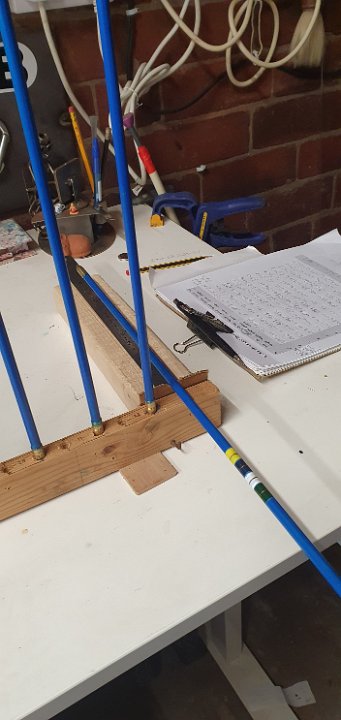
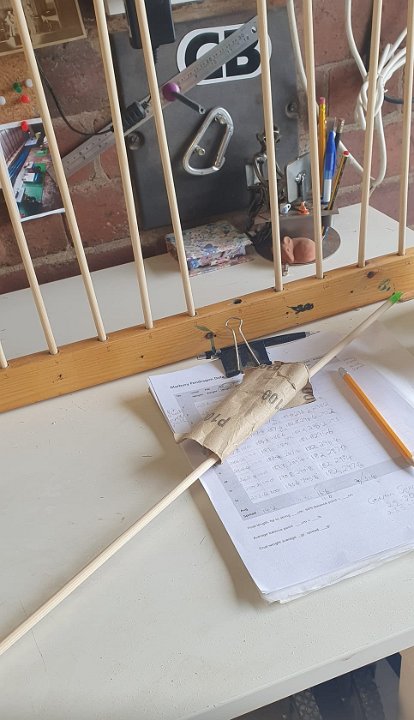 4 Sandpapering to weight. My least favourite part of the job! The scale weighs to ridiculous fractions of a grain (which is 1/19th of a gram); I go to one decimal place. |
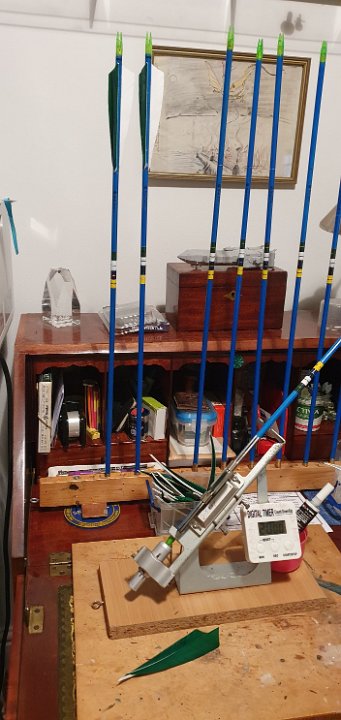
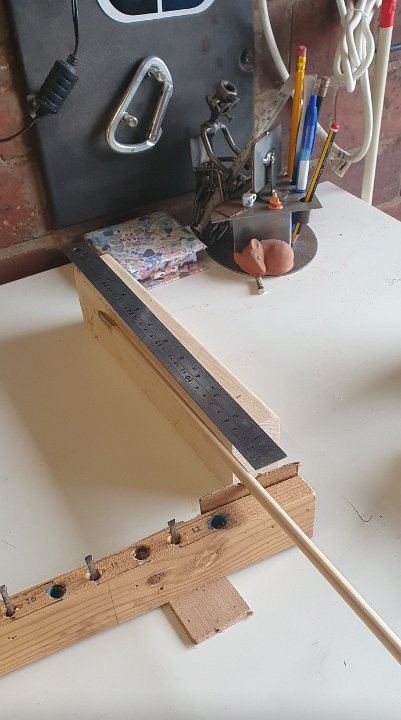 5 Checking POC balance point. The arrows should balance as near 60% of the way along. |
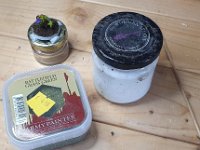
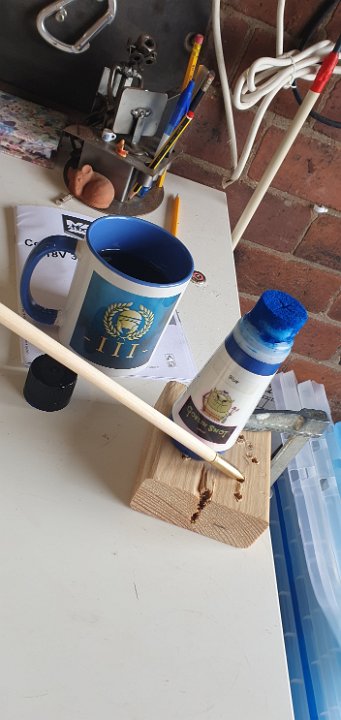 6 First coat of stain going on. Heritage Archery's wonderful Goblin Snot stain comes in bottles like the old Padawax; no mess, no waste. |
 7 Stain done after 3 layers, left to dry. Next, decals |
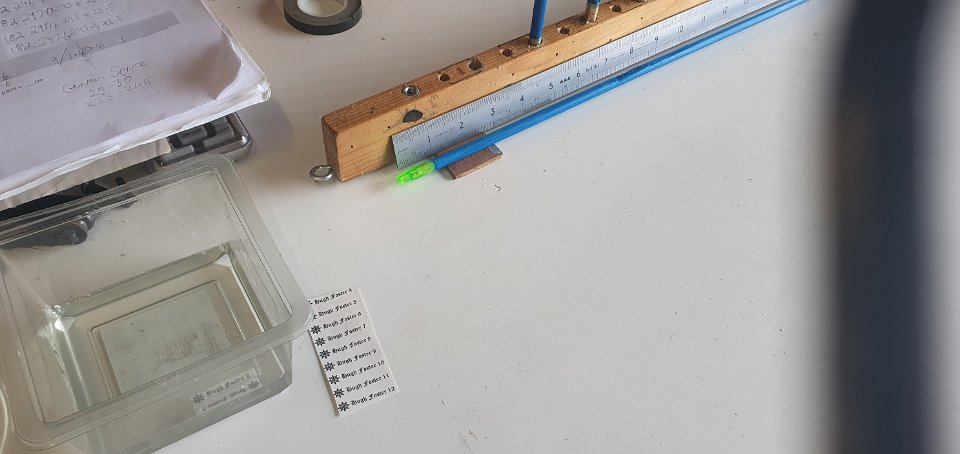 8 Decals time. Making sure they come between where fletches and crest will be. These are printed onto laserjet paper that's waterslide transfer - like the old Airfix kits. |
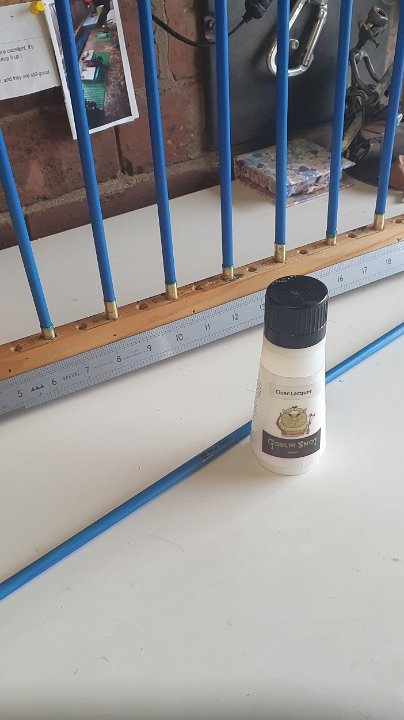 9 Three coats of clear lacquer, to protect the stain and hold the decals on. Waterproof too, though as indoor arrows these won't need that. |
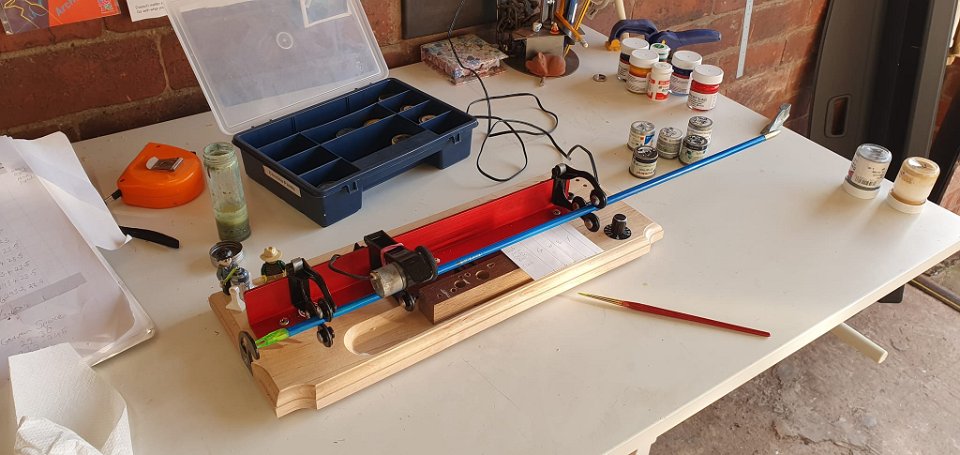 10 Next - cresting! This machine replaced my old home-made Lego one, as the motors kept burning out and new ones off eBay were costing as much as the gadget. Humbrol enamels as the acrylics it comes with are too thin and the blue shows through. The figure with the hat was made up at the Lego shop by Lizzie and Karl to look like me :) |
 11 Base stripes done; trim tomorrow. Green and White are my colours; Blue and Yellow are because I am a Cheshire Archer |
 12 Crested. The metallic bands are different on 1 & 2 to difference them. There's also a black and silver line at 6" from nock throat so that every arrow is a bracing height gauge; even I can't miss that. |
 13 Fletching - 5" fletches, as big as possible for nice accurate short-range arrows with as much drag as Ru Paul on a good night out! Being indoor arrows, these will almost never be shot at more than 20 yards, so drag ain't a problem. This is a process of hurry up and wait; glue up and place a fletch, start the 20 minute timer, and do something else. Rinse and repeat. |
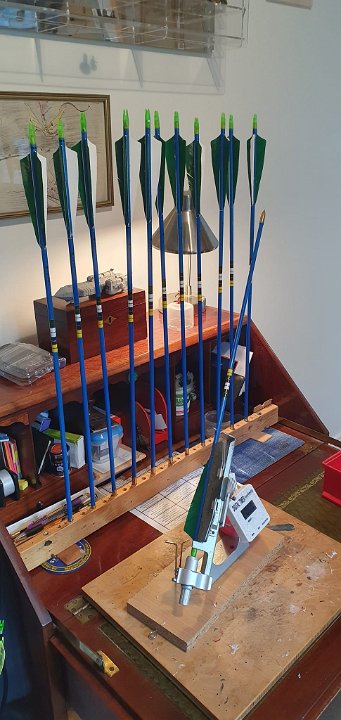 14 Fletching done. Just final weigh and balance to go |
 15 Final weighing and balancing |
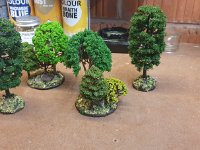
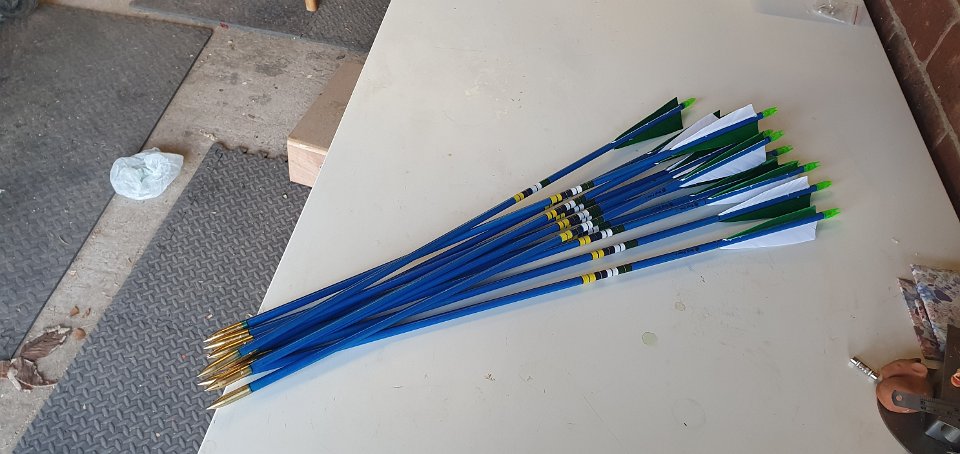 16 Done! The Marbury Pendragons |